How to Safely Repair Damaged Roof Flashing
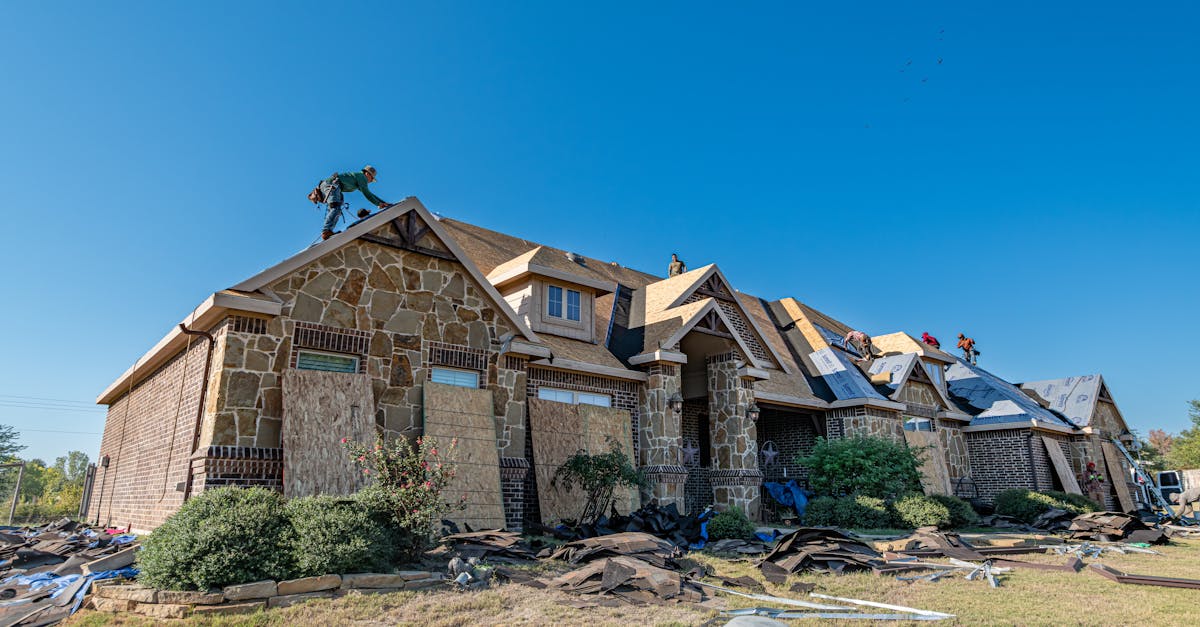
Table Of Contents
Preparing the Area for Repair
Before beginning the process of repairing roof flashing, it is crucial to prepare the workspace to ensure safety and efficiency. Start by removing any debris from the roof surface. This can include leaves, branches, or other materials that may have accumulated over time. A clean area reduces the risk of accidents and allows for a more thorough inspection of the flashing. Be sure to wear sturdy shoes with good grip, as the roof can be slippery, especially if it’s wet.
Next, gather all necessary tools and materials before climbing on the roof. Having everything on hand will prevent unnecessary trips down and up the ladder. Essential tools may include a pry bar, roofing cement, a utility knife, and sealant or flashing tape. If the damaged area is particularly high or difficult to reach, consider using a harness for added safety. Proper preparation not only streamlines the repair process but also helps prevent injuries while working at heights.
Steps for Clearing and Cleaning the Workspace
Before embarking on any roofing repair, ensuring a clean and safe workspace is essential. Start by removing debris, leaves, or any objects that may obstruct the area around the flashing. Use a sturdy ladder to access the roof safely. Having a clear path allows for easier movement and reduces the risk of accidents. Double-check that any tools or materials are organised in a manner that permits quick access, avoiding unnecessary trips back and forth.
After clearing the area, it's crucial to clean the surface of the roof and the flashing itself. Use a brush or a cloth to remove dirt and grime, as any dust or mess can impede the effectiveness of the repair. Pay particular attention to the seams where the flashing meets the roof, as these spots can collect debris. A clean surface ensures that sealants adhere correctly, which is vital for a long-lasting fix. Make sure to inspect for any damaged tiles or materials that may need attention before proceeding further.
Step-by-Step Guide to Repairing Roof Flashing
Begin by assessing the extent of the damage to the flashing. If the flashing is simply bent or displaced, it can often be repositioned without the need for replacement. However, if there are cracks, rust, or significant deterioration, replacement may be necessary. Gather the required tools and materials, including a pry bar, hammer, nails, sealant, and new flashing if needed. Ensure safety by using a sturdy ladder and wearing appropriate protective gear.
Once you are ready, start by removing any roofing materials that cover the damaged flashing. This could involve lifting shingles or tiles carefully to avoid causing further damage. After exposing the flashing, check for any underlying issues, such as rotting wood or leaks. If repairs to the wood deck are needed, address those first. After ensuring the area is sound, position the new or repaired flashing in place, ensuring it overlaps adequately with the adjoining materials. Secure it with nails, and prepare for sealing to ensure a watertight finish.
Detailed Repair Process
Begin by carefully removing any damaged or loose flashing. This may involve using a pry bar or a similar tool to lift the edges of the flashing away from the roof. Inspect the underlying roofing material for any additional damage. If necessary, replace compromised sections before proceeding with the installation of new flashing. Ensure that the surface is clean and free of debris to create a secure bond.
Next, cut the new flashing to size. Make sure it overlaps existing materials properly to prevent leaks in the future. Apply a generous amount of roofing cement along the edges and press the flashing into place. Use roofing nails or screws to secure the flashing firmly, ensuring that fasteners are placed at appropriate intervals to maintain stability. After fixing the flashing, check for proper alignment and sealing before moving on to the final sealing process.
Sealing the Repair Properly
Proper sealing is essential to ensure that your roof flashing repairs last over time. The choice of sealant plays a critical role in this process. It is important to select a sealant that is specifically designed for roofing applications, as these products usually offer better adhesion and resistance to environmental factors. Silicone or a high-quality polyurethane sealant can work well, providing flexibility and durability to withstand temperature changes and avoid cracking.
Before sealing, ensure that the repaired areas are completely dry and free from debris. Apply the sealant generously to the edges of the flashing and fill any gaps or cracks effectively. Smooth the sealant for a neat finish, ensuring it forms a proper barrier against water intrusion. It may be beneficial to check the sealant manufacturer’s instructions for curing times and suggested applications to achieve the best results and longevity of your repairs.
Choosing the Right Sealant
Selecting the appropriate sealant is crucial for ensuring a long-lasting repair of roof flashing. A range of options is available, each with its unique properties. Silicone sealants are popular due to their excellent waterproofing capabilities and flexibility, making them ideal for areas that may experience temperature fluctuations. Alternatively, polyurethane sealants offer strong adhesion and durability, suitable for various substrates, including metal and asphalt. It is advisable to consider the specific environmental conditions and the materials being used when making your choice.
Before purchasing sealant, check for any certifications or ratings that indicate its performance, particularly in wet or high-temperature environments. Additionally, ensure the sealant is compatible with existing roofing materials to avoid any adverse reactions. Some sealants may require primer for optimal adhesion, so it's essential to read the manufacturer's recommendations carefully. Proper selection can significantly enhance the repair's effectiveness and longevity, ultimately protecting the roof from potential leaks and damage.
FAQS
What is roof flashing and why is it important?
Roof flashing is a material used to prevent water from entering around joints and seams in a roof. It is important because it helps to protect the roof and the interior of the building from water damage.
What tools do I need to repair roof flashing?
Common tools needed for repairing roof flashing include a hammer, pry bar, utility knife, caulking gun, safety goggles, and roofing nails. Depending on the repair method, you may also need a drill or a sealant applicator.
How can I tell if my roof flashing is damaged?
Signs of damaged roof flashing include water stains on the ceiling or walls, visible rust or corrosion on the flashing itself, and gaps or cracks in the flashing material. A thorough inspection after heavy rainfall can also reveal leaks.
Is it safe to repair roof flashing myself?
Yes, it can be safe to repair roof flashing yourself if you take the necessary precautions, such as using proper safety gear, working on a stable ladder, and ensuring that weather conditions are suitable. However, if you're not comfortable with heights or the repair seems extensive, it's best to hire a professional.
How long does a roof flashing repair typically last?
The longevity of a roof flashing repair depends on the materials used and the quality of the work. With proper sealing and maintenance, repairs can last several years, but regular inspections are recommended to catch any issues early.
Related Links
Effective Methods for Patching Roof Leaks in MelbourneWhen and How to Replace Roof Underlayment
Assessing and Repairing Roof Ventilation Issues
Simple Solutions for Addressing Roof Membrane Damage
Repairing Lifted Roof Edges: A Comprehensive Approach
The Best Practices for Repointing Tile Roofs